Roll, Roll, Roll Your Oats
The renaissance of porridge

Story and Photograph by Rose Shewey
Many moons ago, around the time when candy cigarettes and slap-on bracelets were the cat’s pajamas, a serving of oatmeal seemed more like a punishment to me than a meal worth savoring. My mom cooking oats for us usually meant one of two things: The 7-year-old me had not eaten “right” for a while and needed proper sustenance; or we had simply run out of other breakfast foods (namely bread) before grocery day.
While my brother and I despised cooked oats and feigned tummy aches at the sight of it, we were completely sold on an oatmeal rendition we had been introduced to in our neighbor’s kitchen: raw oats soaked in cold milk for just a minute or two, served with a dash of cacao and a sprinkling of brown sugar. Love, instantly. To us, it was the perfect composition of a refreshing, lightly sweetened, satisfying oat snack, minus the mush. While cooked oats weren’t our jam, this chilled adaptation became a staple in our meal rotation through much of my childhood. My brother, now in his 40s, still eats his oats chilled. Meanwhile, I have made room in my life for traditionally cooked, warm and comforting, creamy oatmeal.
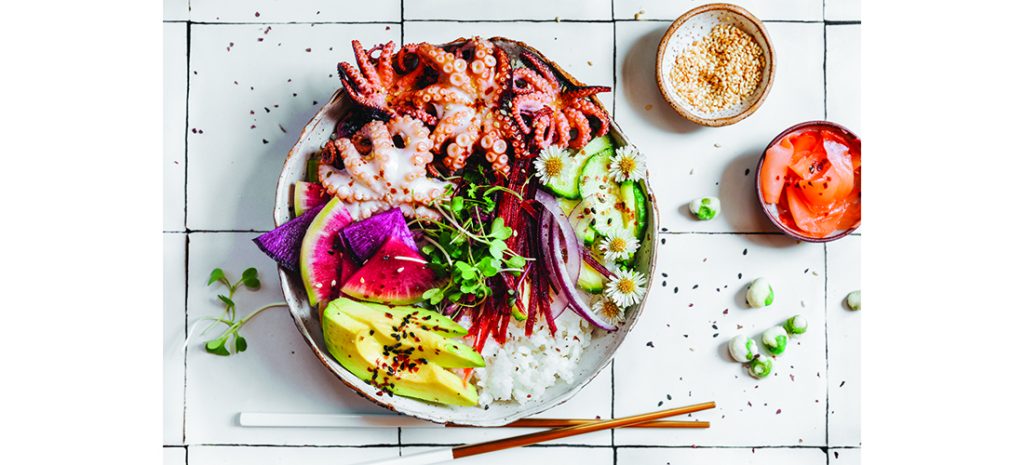
Though porridge, which can be made from any whole grain, is making a comeback as a whole, oatmeal in particular seems to take center stage. Denmark has an established chain of restaurants that serves nothing but porridge for breakfast, lunch and dinner. Savory oatmeal has gone viral on social media this year with masala oats, a traditional Indian breakfast dish, on the rise. Many speculate that the gluten-free craze has contributed to the revival of oatmeal; some believe that studies showing oatmeal aids weight loss are to be credited for it — which is a bit of mystery to me, seeing that the vast majority of people jazz up their oats with fat and sugar. I, however, have a different take on the renaissance of oatmeal.
While oatmeal hardly falls in the category of “acquired taste,” I have numerous friends who, much like myself, went from total rejection to complete adoration of this humble dish. Aside from the fact that I actually enjoy the taste and texture of oatmeal nowadays, I’m drawn to it for another, fairly significant reason. Oatmeal has a unique way of grounding me. However complicated life gets, a bowl of oatmeal is the epitome of simplicity and instantly connects me with the quiet, unrushed aspects of my life. It’s like a warm hug on a chilly day — oatmeal nourishes body and soul. I believe that this sentiment is quietly shared among many of us who embrace this scrumptious, gratifying dish, and may be much more relevant in explaining the recent popularity of oatmeal. But if I happen to lose a few pounds down the road, eating buttery, sugar-sprinkled oatmeal, I’ll happily stand corrected.
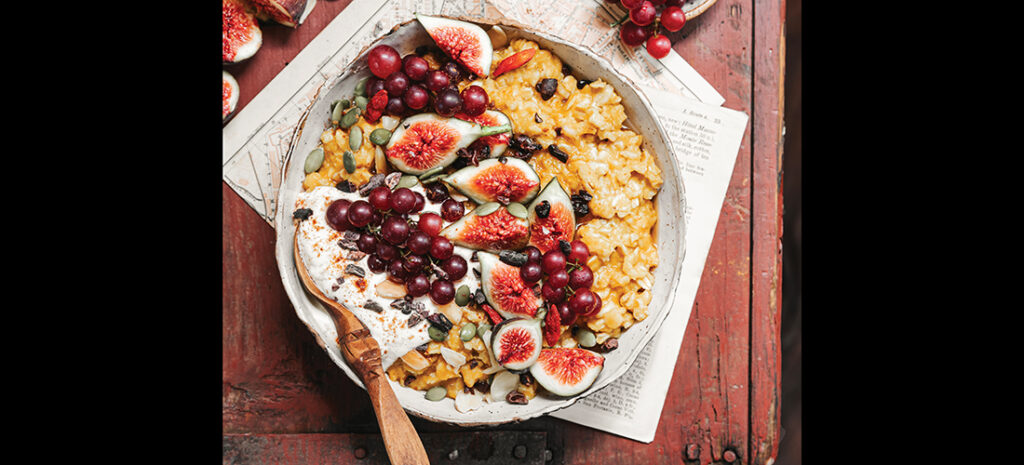
Creamy Pumpkin Oatmeal
(Makes 2 Servings)
Ingredients
1 1/2 cups water
Pinch of salt
1 cup rolled oats
1/2 cup pumpkin puree
3/4 teaspoon ground cinnamon
1-2 tablespoons sweetener, to taste (honey, maple syrup or granulated sugar)
1/2 teaspoon pumpkin spice, optional (see note)
Directions
Bring water and salt to a boil, then add oats. Stir to combine, then add remaining ingredients. Simmer for 5-10 minutes until you reach your desired consistency; remove from heat and allow to rest for 1-2 minutes before serving. Top with seasonal fruit, such as figs, grapes or pears; add pumpkin seeds, cacao nibs, sliced almonds or other chopped nuts, to taste.
Note: Add pumpkin spice for more flavor. To make your own pumpkin spice, combine 1 heaping teaspoon ground cinnamon, 1/4 teaspoon ground nutmeg, 1/4 teaspoon ground ginger and 1/8 teaspoon ground cloves. PS
German native Rose Shewey is a food stylist and food photographer. To see more of her work visit her website, suessholz.com.