FOCUS ON FOOD
Bitter, Meet Sweet
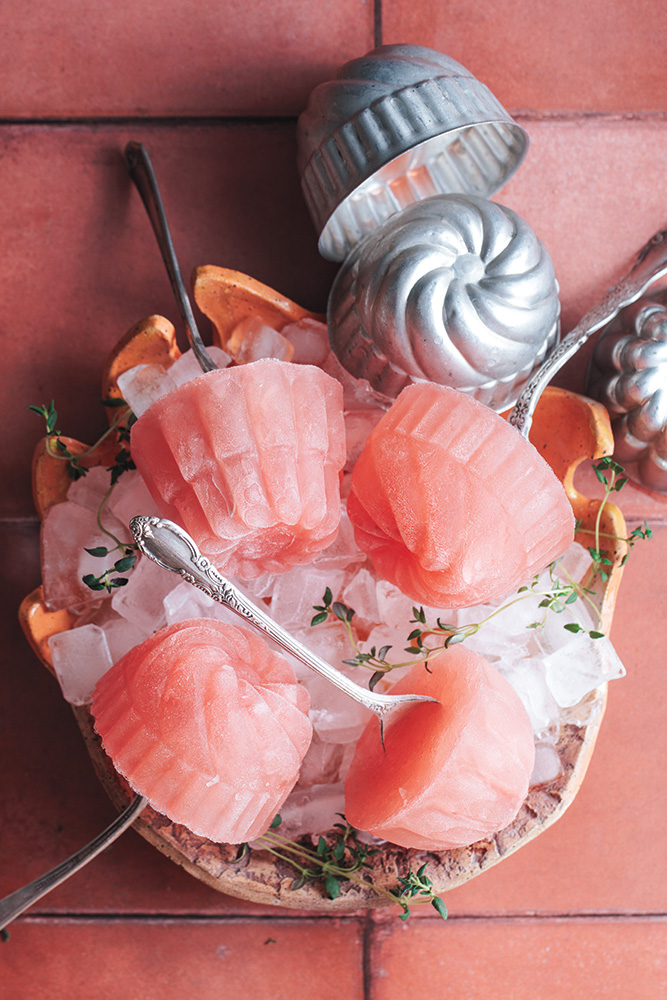
Grapefruit and strawberry popsicles
By Rose Shewey
In my younger years not even a generous sprinkling of sugar would have gotten me excited about eating grapefruit. Now I can’t get enough of it — sans sugar, of course — which makes for a textbook example of an “acquired taste.”
So, how exactly do we grow fond of things we may not have liked at the get-go? How on earth did we come to enjoy black coffee, blue cheese or sauerkraut? I still haven’t figured out how single malt whiskey goes down the hatch without retching — and it may not be for me to find out in this lifetime.
But the answer is, of course: habit. Repeated exposure to certain foods, with some initial modifications perhaps, will gradually get us accustomed to strange flavors and textures. Add sentimental attachment, or “associative learning,” to the experience — as in social bonding over a round of IPAs with friends, or escargots with family as a special holiday tradition — and you’re well on your way to acquiring a taste.
Back to the grapefruit: Thanks to Mother Nature, we are hard-wired to be wary of bitterness as a survival mechanism. Many toxic compounds are bitter, though of course not all bitter compounds are harmful. On top of that, grapefruits are sour and astringent. The hardest part may be that, unlike coffee or booze, there is no immediate functional reward in eating grapefruit. Enjoying it is entirely based on accomplishing the process of learning to love it.
Although bitter is my jam this summer, even I like my popsicles on the sweeter side and fortunately, I can have my cake and eat it too. Grapefruit, with the addition of strawberries, gets you the best of both worlds. Blending grapefruit with strawberries creates a harmony where the sharp, astringent bite of the citrus cuts through the sweetness of the berries, creating a complex flavor profile.
I can’t say for sure that there is a kid-friendly version of these popsicles, but omitting ginger and dialing up the sweetness might get your young ones to enjoy them too. Who knows, maybe that’s where their love of bitter things begins.
Grapefruit Strawberry Popsicles
(Makes 4-6 popsicles)
Ingredients
1 grapefruit, peeled, seeded and chopped
1 apple, cored and sliced
2 cups strawberries, fresh or frozen
1/2 inch knob fresh ginger, peeled and chopped
3/4 cup filtered water
1-3 tablespoons sweetener (such as honey, maple syrup — optional)
Directions
Combine all ingredients in a blender and process until smooth. Taste for sweetness; if required, add sweetener, one tablespoon at a time (such as honey or maple syrup) and blend again. Pour juice into popsicle molds and freeze for 4-6 hours, or until frozen solid.